> For the complete documentation index, see [llms.txt](https://blueskytechco.gitbook.io/alukas-shopify/llms.txt). Markdown versions of documentation pages are available by appending `.md` to page URLs; this page is available as [Markdown](https://blueskytechco.gitbook.io/alukas-shopify/theme-sections/banner-with-text.md).
# Banner with text
The image with text section provides an appealing and dynamic approach mixing media, message, and a call-to-action button. This is a great way to promote a product/collection or any exciting feature on your online store.
{% hint style="success" %}
Steps
1. In the theme editor (**Customize**), click **Add section**
2. Locate **Banner with text**
3. **Save**
{% endhint %}
## Section settings
### General
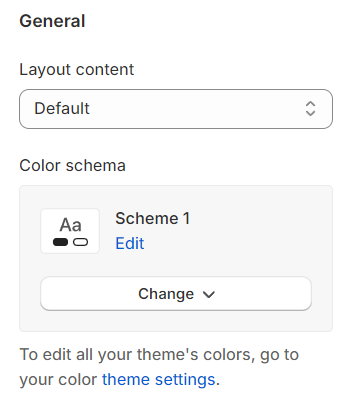
**Layout:** You can choose between Fluid Container, Stretch width, Full width for the layout or just leave it with the default layout of the video.
**Color schema:** You are allowed to change text color, background color, etc. with preset color.
### Animations
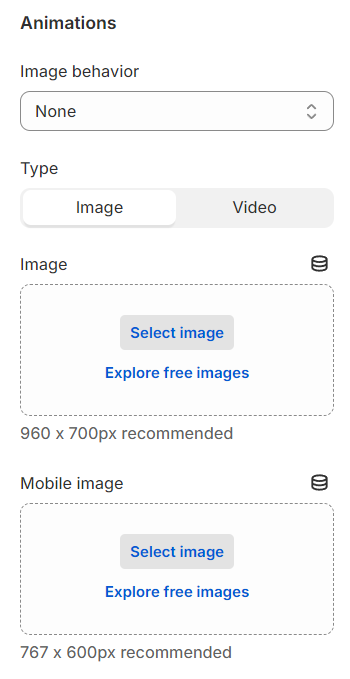
**Image behavior:** Includes animations that make your images more lively.
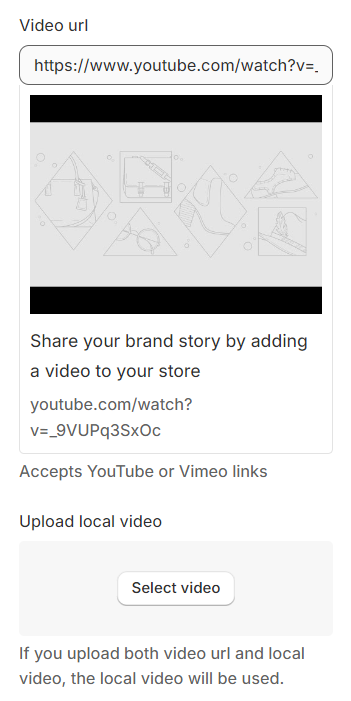
**Type:** Identifies the type of media utilized for the banner.
You can add images for desktop and mobile versions separately.
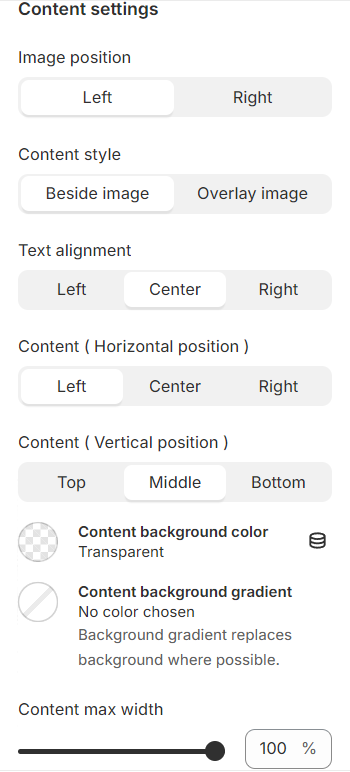
### Content settings
**Image position:** Adjust the images' placement in relation to the content.
**Content style:** Choose for the header to be positioned above or adjacent to the image.
**Text alignment:** Options to align text left, center, or right are available.
**Content alignment:** Vertically and horizontally align the content for optimal positioning.
**Content max width:** Define the maximum width of the content box for a tailored fit.
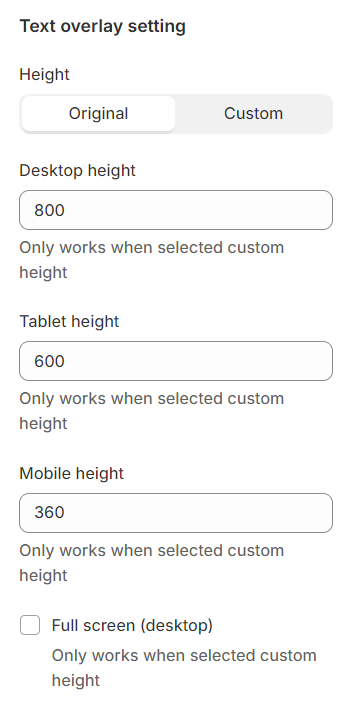
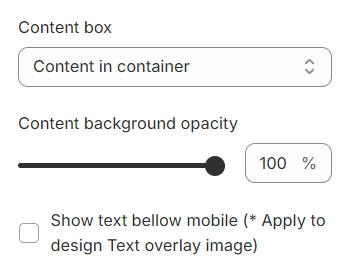
### Text overlay setting
Content has default height with **Original** setting. Switch to **Custom** setting in case you want to set it up on your own.
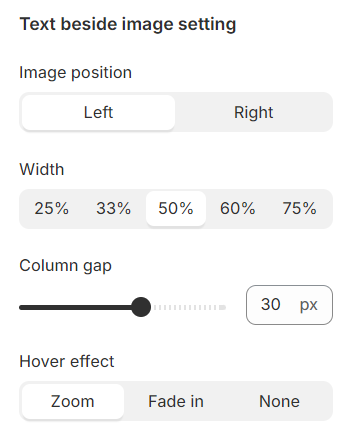
### Text beside image setting
**Image Position:** Configure the image to appear either to the left or right of the content.
**Width:** Determine the width of the image.
**Column Gap:** Adjust the padding around the content for spacing.
**Hover Effect:** Choose from a variety of hover effects for the image. Note: Hover effects may alter the size of your images.
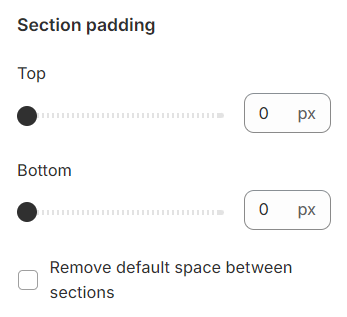
### Section padding
Section padding allows you to specify the space between this section and the preceding or following sections, or both.