> For the complete documentation index, see [llms.txt](https://blueskytechco.gitbook.io/alukas-shopify/llms.txt). Markdown versions of documentation pages are available by appending `.md` to page URLs; this page is available as [Markdown](https://blueskytechco.gitbook.io/alukas-shopify/theme-sections/banner-carousel.md).
# Banner carousel
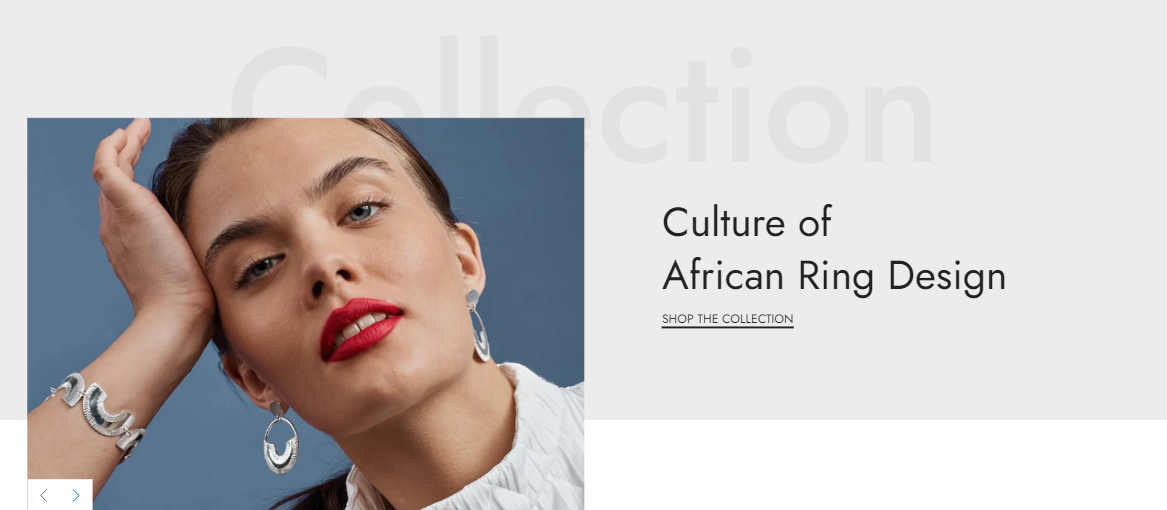
The **"Banner carousel"** section offers a vibrant and interactive blend of imagery, narrative, and a call-to-action button, creating a compelling way to showcase a product or collection, or highlight a standout feature of your online store. This format is ideal for drawing attention and engaging visitors, effectively promoting key aspects of your business.
{% hint style="success" %}
Steps
1. In the theme editor (**Customize**), click **Add section**
2. Locate **Banner carousel**
3. **Save**
{% endhint %}
## Section settings
### Section header
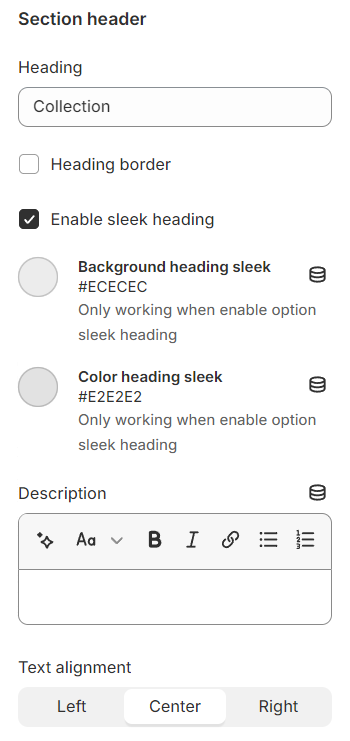
In addition to standard settings for the heading, description, and text alignment, this section boasts a distinctive feature that allows the header to adopt a more refined appearance.
This is made possible through the **'Enable sleek heading'** option, providing a unique way to stylize your header for a more polished and modern look.
### General
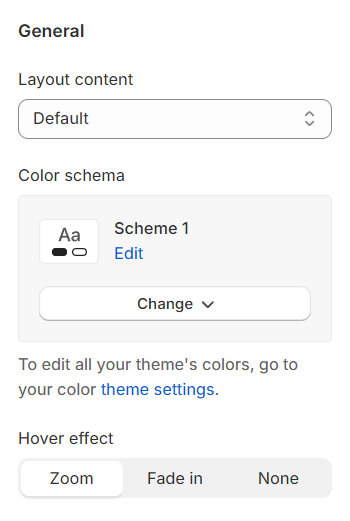
**Layout:** You can choose between Fluid Container, Stretch width, Full width for the layout or just leave it with the default layout of the video.
**Color schema:** You are allowed to change text color, background color, etc. with preset color.
### Typography
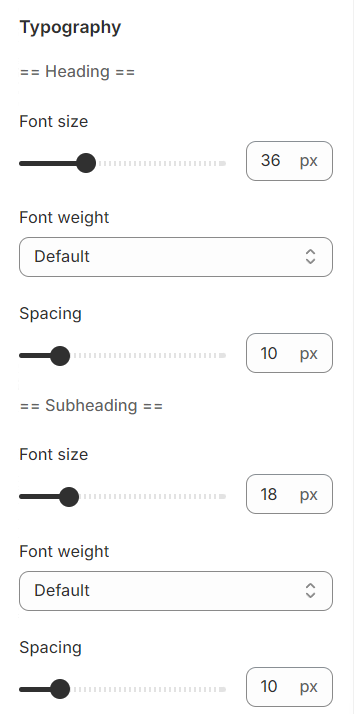
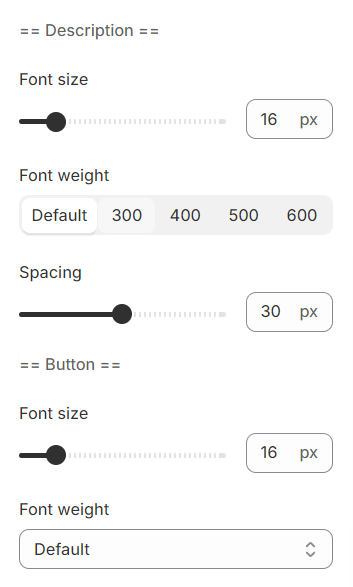
Typography settings include customization options for headings, subheadings, and descriptions. You can adjust the Font size and Font weight for each of these text elements to match your design preferences.
Additionally, the Spacing between each element can be tailored, allowing for optimal readability and a visually appealing layout that enhances the overall user experience.
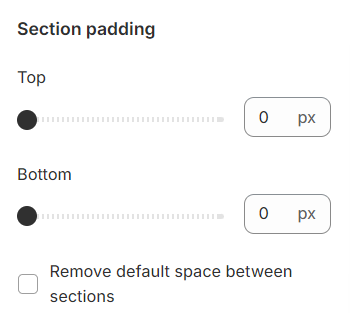
### Section padding
Section padding allows you to specify the space between this section and the preceding or following sections, or both.
## Blocks settings
### General
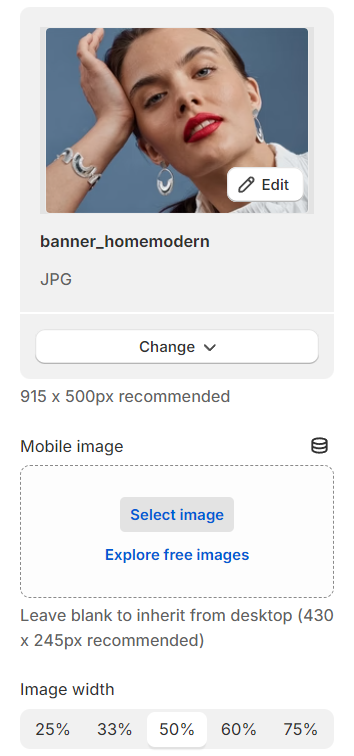
You can add images for desktop and mobile versions separately. While **Image width** is set for desktop only.
### Content
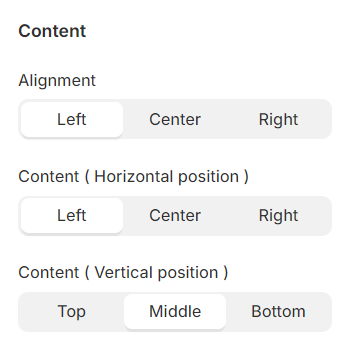
Content positioning is highly customizable, offering three distinct settings: **alignment**, along with **horizontal** and **vertical positioning**. This flexibility allows for precise placement of content, ensuring it aligns perfectly with your design vision and enhances the user experience.
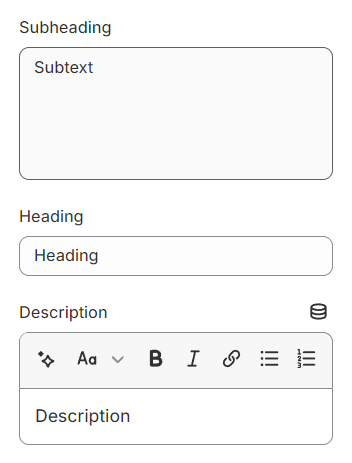
Use the provided text fields to add a suitable heading/subheading/description. Leave any of them blank if you do not want to display them.
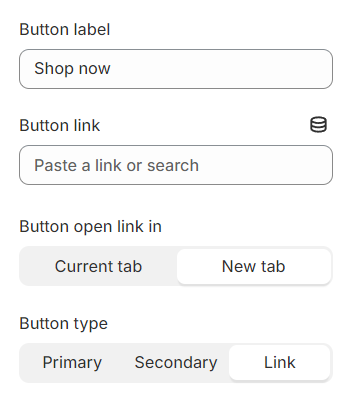
You have the flexibility to modify the label displayed on the button right here.
Additionally, you can determine the button's priority by selecting its type with the **Button Type** option.